How Do I Swap Out My
Custom Shave Settings?
You can swap out your Shave Setting by unscrewing the setting, removing the blade, grabbing your new setting and screwing it all back together.
First, you want to unscrew the setting from your razor handle. Once the screw is out, carefully remove the setting with the blade on it and put it to the side. Be careful when doing so! Our blades are very sharp.
Next, you need to decide what to do with the blade. If your existing blade still has some shaves left, you can continue to use it with your new setting. However, if you need a new blade, you will need to manually insert the blade. You NEVER want to inject a blade into an empty razor head. This will almost always dull and/or damage your blades — compromising your shaves.
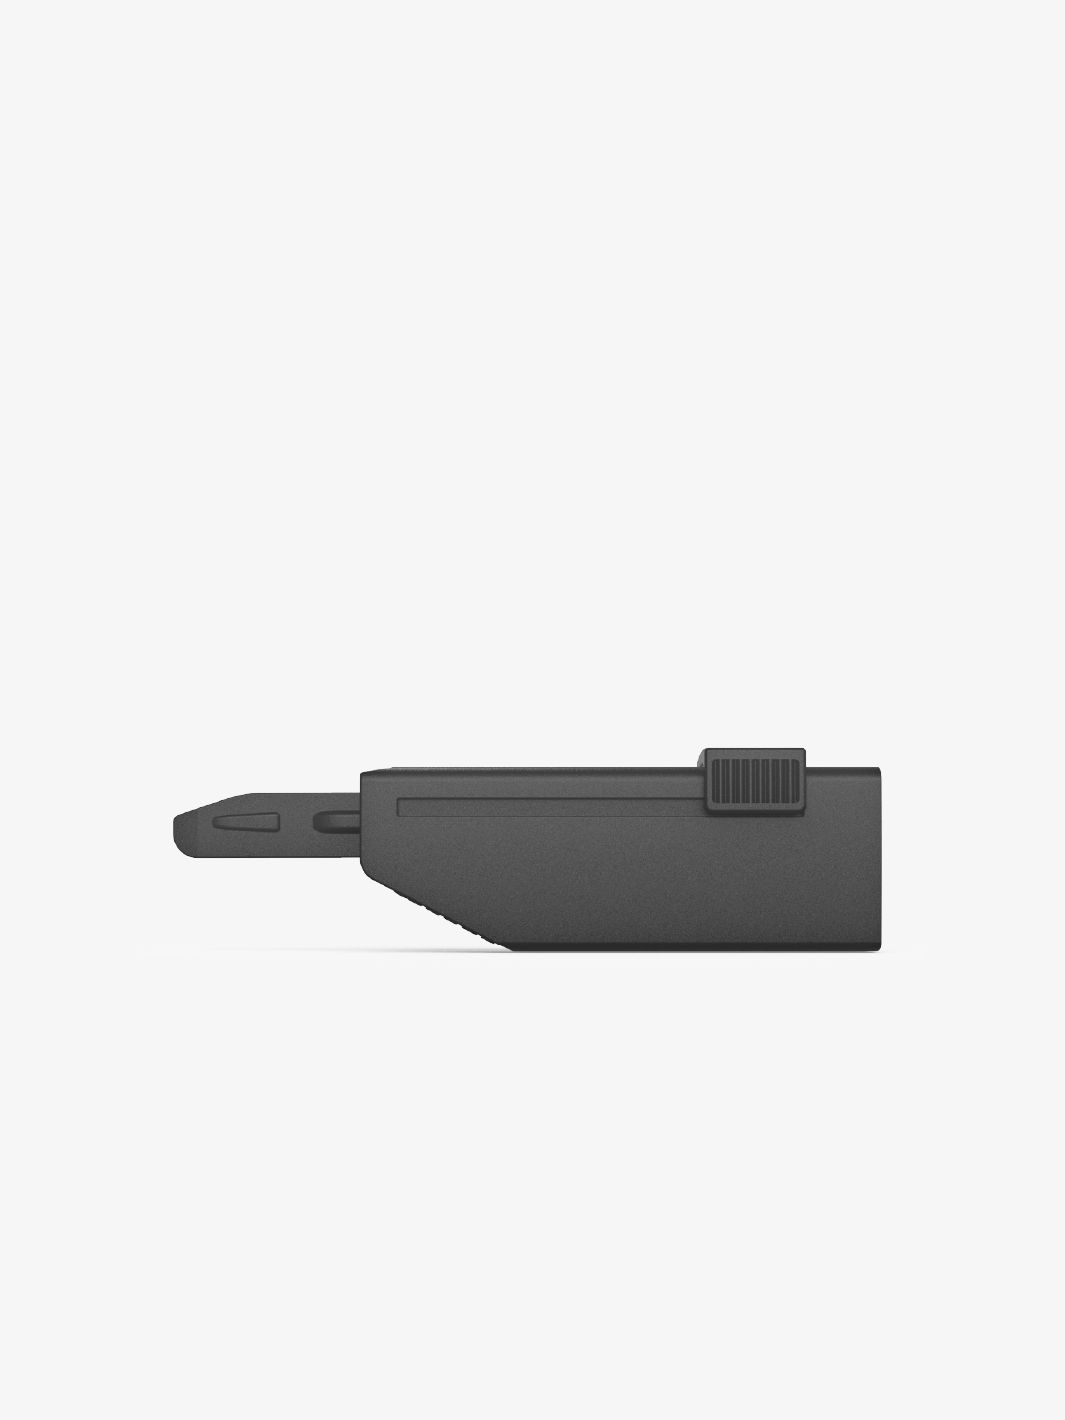
To use your current blade: Grab the setting of your choice and place your blade on it. Make sure the cutting side is facing out, flushed against the blade stops.
To insert a new blade: Eject one from the pack and place it on the setting of your choice. Make sure the cutting side is facing out, flushed against the blade stops.
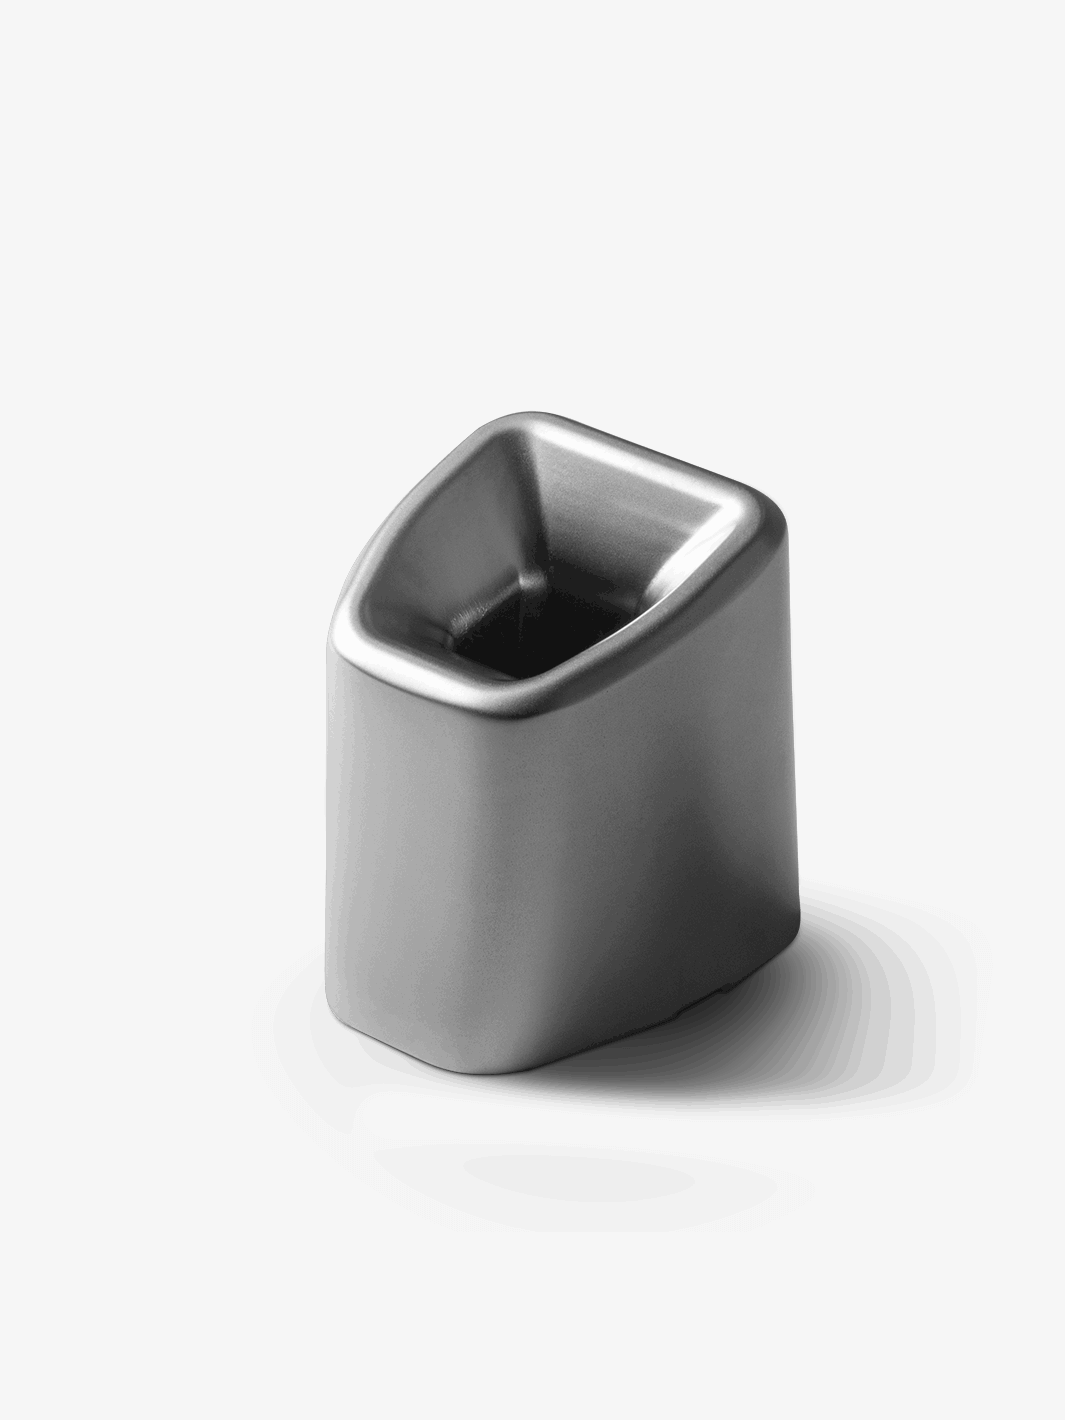
Lastly, screw in the setting while holding the blade in place with your thumb and index finger on either side of the setting, as shown in the picture above. Make sure your setting sort of "locks in" before screwing the razor back together. If your setting is not placed and fitted into the handle correctly, you could damage your Single Edge.
Take a look at this video below! The most important thing to remember is, you NEVER want to inject a blade into an empty razor head. So when you change your setting, you will need to manually insert your blade -- used or new.